Capture One is a high-end raw developer initially created for professionals: it has a lot of absolutely superb tools but they require an understanding of image processing that not everyone has. This is a relatively complex application, which is why I bring you this Capture One Review so that you know everything you need to know about this photo editor.
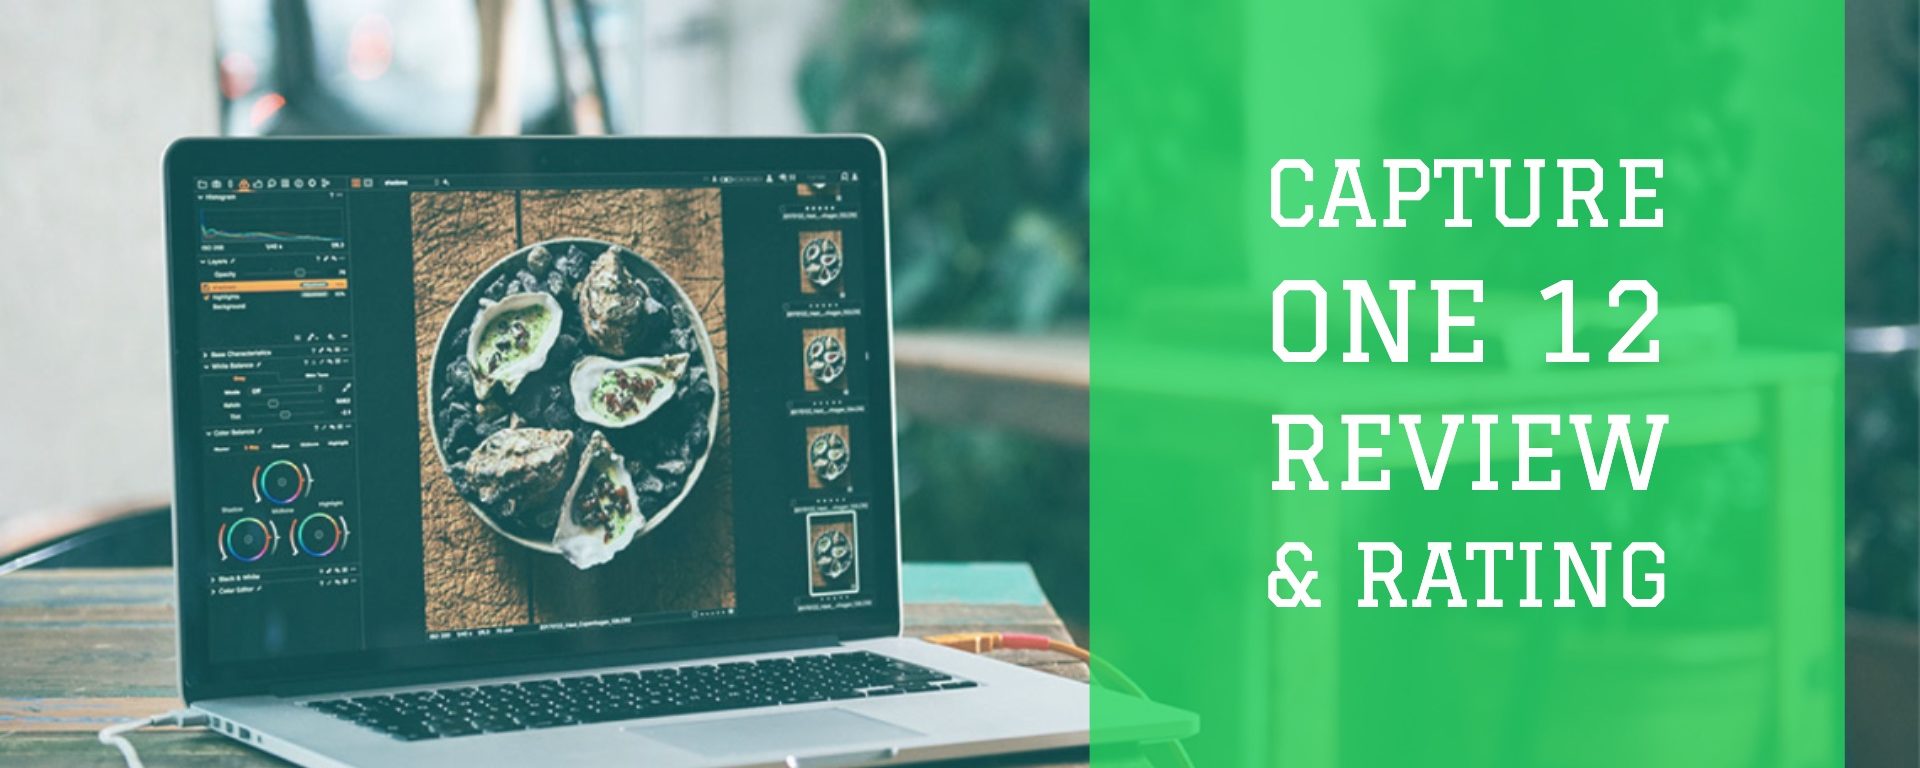
Capture One 12 Review

This is not to say that someone who is starting out in photography will not be able to use the program, but it will require some time to be able to take full advantage of all its functions and features. It is a program created by professionals and designed to achieve a professional finish on your photos.
Main features of Capture One
Fully customizable photo editing software
One of the favorite features of users, customization. Capture One’s interface is totally different from any photo editing software, and that’s what makes it a little intimidating at first, but we can customize absolutely everything.
- Customize everything: The adjustment tabs, the tools within the tabs, we can reorganize absolutely everything we have on the screen to leave it to our liking, creating the ideal workspace for each user.
- You can duplicate the tools: we can create a tab just for the curves and duplicate the tool to have all the channels.
- Keyboard shortcuts: You can edit each and every one of the keyboard shortcuts. You can associate any shortcut to any key.
Managing Images in Capture One 12
A strong point of Capture One is that we have the ability to choose what we want to do with our photo library:
- We can do the same as in Lightroom by cataloging all the photos.
- We have the ability to move from catalogs, opening the photos directly from the archive (as it works in Adobe Bridge).
- It gives us the ability to work on sessions, something not seen in another RAW developer.
Color Management
If there’s one thing Capture One is famous for, it’s the effectiveness of its color management tools. While with Lightroom it is very difficult to process color accurately and you always finish adjusting it in Photoshop, Capture One offers tools to selectively work color. Those are very useful and much more elastic than Lightroom.
- ICC profile: Through the ICC profile we can adjust the color communication between the computer and the camera to the millimeter. The normal thing is that we leave this option by default since Capture One embeds us the profile and the curve of contrast more adapted to our photography depending on the camera and the type of photography. We can also import a completely customized profile through the ‘Import’ option of this drop-down menu.
- Curve: This Curve refers to the contrast curve that automatically applies Capture One according to our camera.
- Contrast Filters: We have ‘Extra shadow film’, which gives us a recovery of the dark areas; ‘High contrast film’, which applies a more aggressive contrast, moving towards the extremes the lights and shadows; ‘Standard film’, which offers a more subtle result and finally we have ‘Linear response’, which offers a grayish and flat result with which we can work manually the contrast.
- Engine: In Capture One it is possible to change the processing engine to use earlier versions of the program. Over the years, there are photographers or retouchers who prefer the result offered by previous program engines.

Color Editor
The Advanced Color Editor in Capture One’s star tool. It is the last one we will find in the Color module and also the one we will use the most because it allows us to manipulate the tones of a photograph to the maximum.
We can work selecting the color ranges that interest us most in the Basic Editor, seeing in real-time the color interval that we are selecting and we can even take and edit our own color samples through the Advanced Editor.
With the Advanced Color Editor, we basically have a color sampler in the list with which we can apply the settings we have seen in the Basic Color Editor. This mode allows us to go with an eyedropper selecting the tones we want to edit. All the samples are saved in a list in the lower box so that we can retrieve them whenever we want. For example, in an outdoor photo, we can make precise selections of the sky, the floor, the model’s skin and the clothes she wears. A simple and, most importantly, very precise tool.
The Advanced Color Editor is also useful if we activate the black and white mode and in this case, we will be able to edit the colors with greater precision than with the Basic Editor. The Advanced mode hides a lot of potentials if we use it well so I strongly recommend you to use it until the tedium because you can get a lot out of it, but you have to know how to use it well.
Adjustments in Capture One
This is the real heart of Capture One, the adjustment area and the developing engine are simply brutal. We are going to find tools that we used to find only in Photoshop, and some of them even superior in Capture One, with all the advantages of being working directly on the Raw file:
- Layers: the authentic game changer. To be able to work with layers, in the purest Photoshop-style inside the Raw developer. This really makes the development flow change completely. But now you think in layers from development, practically all settings can be edited in layers with associated masks. We can add up to 16 layers in each document by controlling the opacity of each layer’s settings.
- Levels and Curves: These basic tools in any advanced workflow are far superior to anything found in other Raw developers. We have many configuration options, but the best thing is that we can even adjust the levels in each of the channels independently, Red, Green, and Blue. Also, thanks to the customization of the interface, we will be able to take the tools out of their tab and expand them to work with more delicacy. You can use the arrow keys to modify the points one by one.
- HDR: Capture One’s HDR tools have always been famous for recovering dynamic range (both in lights and shadows) in an incredible way. Its ability to lift shadows and recover highlights is far superior to what is available in Lightroom, but it also manages to maintain the quality of the shadows in an incredible way.
- Color Balance: For those of you who come from Lightroom, it’s something like the Split toning or split tones we found in Adobe, but with one big difference: we can also use halftones. In addition, not only will we control the color that affects each tonal range, but we will even be able to modify the brightness of each zone. This opens up many possibilities.
- Color Editor: Here we have incredible options when selecting and isolating tones, colors, modify chromatic adjustments, practically anything we want to do related to color can be done from this tool.
Export adjustments
We can export in a single click using different types of processing, so we can export a batch of images with 3 formats.
The best thing is the addition of what Capture One calls Tokens, which will allow us to organize all those files in folders automatically created according to file format, resolution, date of capture, color labels, punctuation that has the photo, camera model, among others.
If you would like to learn about photo editing software check our article about best photo editing software in 2019.
Capture One 12
$299
Pros
- Beautiful customizable interface
- One-time payment (no subscription)
- 500+ cameras supported including Fujifilm and Sony
Cons
- No panorama or HDR merging capabilities
- No video support